

Table of Contents
- Why Suspension Tuning Matters More Than Any Bolt-On
- Start With Off-Road Suspension Sag Settings
- Motorcycle Rebound Damping Adjustment for Rough Terrain
- Off-Road Suspension Compression Settings That Keep You in Control
- A Repeatable Baseline-to-Test Tuning Process
- Terrain-Specific Setup: Sand, Rocks, Mud and Corrugations
- Off-Road Suspension Troubleshooting: Symptoms and Fixes
- Upgrade Priorities: Springs, Valving and Shocks
- Frequently Asked Questions
Last Updated: October 17, 2026
Why Suspension Tuning Matters More Than Any Bolt-On
Ask any experienced off-road rider what transformed their bike and you'll hear about suspension tuning, not exhausts or graphics. The best suspension tuning for off road isn't about expensive components; it's about making springs and damping work together for your weight, pace and terrain.
Suspension is the only system keeping your tyres connected to the ground, power means nothing if the wheel bounces off rocks instead of driving forward.
Factory setups compromise across a huge range of riders and conditions, showing up as harshness, wallowing or a front end that dives under brakes.
Below is a repeatable seven-step process, from setting sag to choosing valving.
Start With Off-Road Suspension Sag Settings
Sag is the foundation of every off-road suspension sag settings decision, and it costs nothing but time. It's how much your suspension compresses under its own weight, then under your weight in gear. Get it wrong and every clicker adjustment afterwards is guesswork.
How to Measure Static and Rider Sag
Measure from the rear axle straight up to a fixed point on the tail, then repeat at the front. Record three numbers: fully extended, bike-only, and bike with you aboard in full gear.
Measuring without gear is a common mistake, tools, boots and a hydration pack add real weight the spring feels.
As a starting guide, aim for roughly a quarter to a third of total travel in rider sag; adventure bikes carrying luggage usually sit firmer.
Motorcycle Rebound Damping Adjustment for Rough Terrain
Rebound damping controls how fast the suspension extends after a bump, and it's the setting most riders get backwards. Too fast and the bike kicks back like a pogo stick; too slow and it packs down until you have no travel left.
Reading the Bounce Test
Push down hard on the rear and let go. It should rise, overshoot slightly, then settle. Bouncing more than once means you need more rebound damping; rising slowly and staying low means too much.
For motorcycle rebound damping adjustment on rough terrain, start at the manufacturer's standard setting, then turn the clicker one or two clicks at a time on the same stretch of trail.
On corrugated gravel, a slightly quicker rebound keeps the tyre skimming the tops rather than dropping into every trough.
Off-Road Suspension Compression Settings That Keep You in Control
Compression damping governs how the suspension absorbs an impact, and off-road suspension compression settings decide whether a square-edge rock feels like a nudge or a punch. Low-speed compression handles braking dive and body movement; high-speed compression deals with sharp hits.
If the front dives under brakes, add low-speed compression. If the bike deflects violently off rocks, you likely have too much high-speed compression, back it off.
Terrain changes the answer. Sand rewards a plusher setting so the front stays on top. Rock gardens reward more support so the fork doesn't blow through its stroke.
A Repeatable Baseline-to-Test Tuning Process
A structured tuning process beats random clicker twiddling, teaching you what each adjuster does rather than chasing someone else's forum settings.
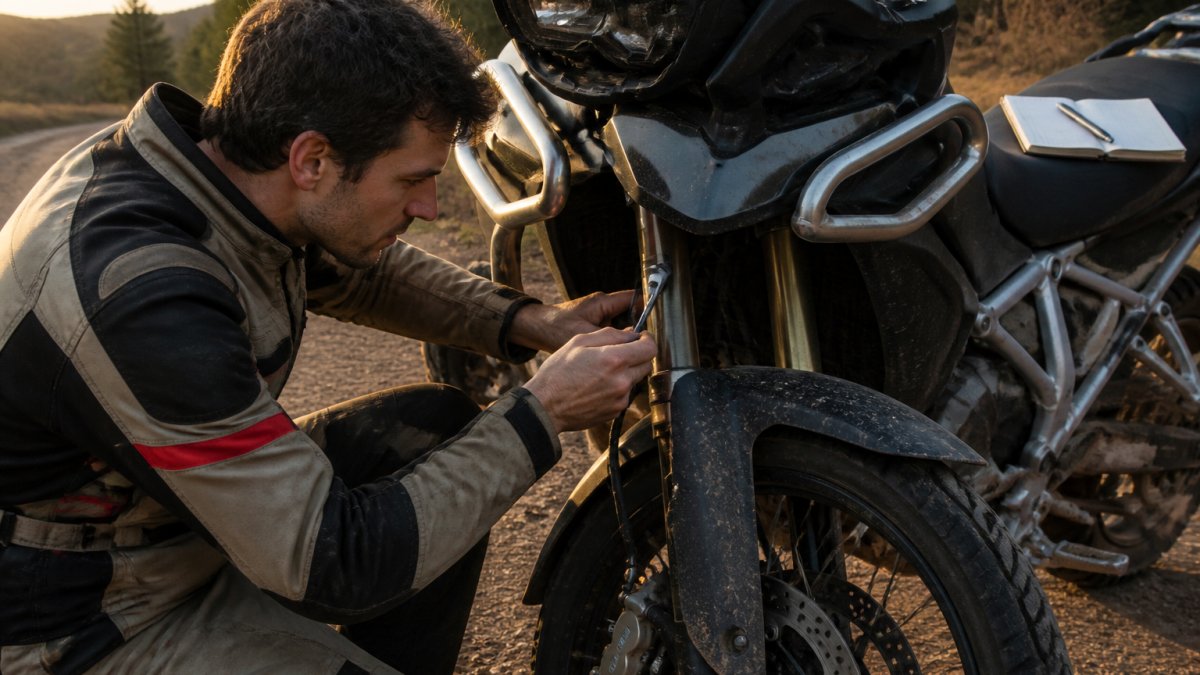
Before You Touch Anything
Three things must be true before the first clicker moves:
- The bike is mechanically sound. Worn fork seals, a blown shock, loose linkage bearings or a bent fork tube mimic tuning problems. Fix those first.
- Tyres are at your normal pressures. A 5 psi change in a rear tyre alters feel more than two clicks of rebound.
- You have a fixed test loop. Ideally 15-30 minutes, covering your most-ridden terrain, with at least one repeatable feature, corrugations, a rock step, a braking zone, to compare ride to ride.
The Seven Steps
- Set static and rider sag. Record fully extended, bike-only and rider-aboard measurements front and rear.
- Return every clicker to the manufacturer's standard position. Count clicks in from fully out so you know where standard actually sits.
- Ride the test loop at a steady pace. Note feel at each landmark feature, not just an overall impression.
- Change one adjuster by one or two clicks. Never move compression and rebound together.
- Re-ride the same loop at the same pace. Same gear, same tyre pressures, same time of day if possible.
- Keep or revert. If the change helped at the target feature without hurting elsewhere, keep it. If not, return to the previous position.
- Repeat for the next adjuster. Work through rebound, then low-speed compression, then high-speed compression.
| Step | Action | Time | What to Record |
|---|---|---|---|
| 1 | Set static and rider sag | 20 min | Extended, static, rider figures |
| 2 | Return all clickers to standard | 5 min | Baseline positions, clicks from full out |
| 3 | Ride a fixed test loop | 20 min | Terrain type, feel notes at each landmark |
| 4 | Adjust one clicker, one to two clicks | 5 min | Which adjuster, direction, click count |
| 5 | Re-ride the same loop | 20 min | Change in feel at each landmark |
| 6 | Keep or revert the change | 5 min | Verdict and reason |
| 7 | Repeat for next adjuster | As needed | Full setup log |
Safety and Limits
Tuning is a road-side activity, so treat it like one. Pull fully off the trail, never adjust with the engine running or on a stand that could tip, and if a clicker stops before the expected range, stop, forcing it damages the needle.
Manuals state minimum and maximum spring preload and often a maximum rider-plus-luggage figure. Stay inside those limits, if you need more preload than allowed to hit correct sag, the spring rate is wrong for your load and no clicker will fix it.
Documenting Results
Keep a written log: date, terrain, temperature, tyre pressures, clicker positions from full out, and a one-line verdict per landmark feature. Over a few sessions, patterns emerge no single ride reveals, for example, that your rear packs down on corrugations whenever rebound is more than four clicks in from standard.
When Load Changes the Baseline
Your baseline is only valid for the load you set it at. Panniers, a top box, a passenger or a full hydration bladder change rear ride height and effective spring rate. Keep two baselines, solo and typical loaded, re-check sag whenever load changes by more than a few kilograms, and expect to add preload rather than clicker changes to restore ride height.
Terrain-Specific Setup: Sand, Rocks, Mud and Corrugations
Terrain dictates setup more than any spec sheet, so build a mental matrix for the ground you actually ride. The table below gives starting directions, not absolutes, every setting is vehicle- and shock-dependent.
Reading the Matrix
Treat each cell as a direction from your baseline, not a destination. "Softer" means back the adjuster off from standard; "quicker" means less rebound damping, so the suspension extends faster. The priority column tells you which circuit to tune first if you can only change one thing.
| Terrain | Compression | Rebound | Priority |
|---|---|---|---|
| Sand and dunes | Softer | Slightly quicker | Flotation, tyre contact |
| Rocks and roots | Firmer | Controlled | Support, traction |
| Mud | Medium | Medium | Ground clearance |
| Corrugations | Softer | Quicker | Anti-packing |
| High-speed desert | Firmer low-speed, softer high-speed | Controlled | Bottoming resistance without harshness |
| Steep technical descents | Firmer low-speed | Slightly slower | Front-end support under braking |
Sand and Dunes
Sand rewards flotation, a front end that ploughs digs in and pitches you over the bars. Back off low-speed compression so the fork absorbs the initial push, and run rebound slightly quicker than your rock baseline so the wheel returns to the surface between dunes. Tyre pressure matters more than clickers here; dropping a few psi is often the biggest single improvement.
CFMOTO 450MT TEKNIC FORK VALVE KIT →
Rocks and Roots
Rocks want support and controlled rebound so the tyre follows the obstacle's contour rather than skipping off it. Run firmer low-speed compression than your sand setup and keep rebound controlled so the wheel doesn't launch off the back side of a rock. If the bike deflects sideways off square edges, back off high-speed compression a click or two first.
Mud
Mud sits between sand and rocks: enough compression support to keep ground clearance and stop the bike squatting into ruts, but not so much that the tyres skate on slick clay. Medium compression and medium rebound is the usual start. The bigger gains come from tyre choice and throttle control, so don't over-tune chasing grip the tyres can't deliver.
Corrugations and Washboard
Corrugations punish rebound settings more than anything else. Too much rebound damping packs the rear down through a series of bumps until it has no travel left, which is why a straight gravel road can feel like a bucking bronco. Run rebound quicker than your rock baseline and accept a slightly less planted feel on isolated bumps.
High-Speed Desert and Fast Gravel
Fast, open terrain is where high-speed compression earns its keep: enough low-speed compression to hold the bike up under acceleration and braking, but high-speed compression soft enough that sharp hits don't deflect the front. This is the hardest combination on stock valving, and the main reason riders revalve.
Translating the Matrix to Your Bike
Start from your solo baseline, pick the terrain you ride most, apply the table's direction and test on a known loop. If it helps, note the clicker count as your new terrain-specific baseline; if it hurts, revert and try the adjacent cell, if softer compression made the front vague in sand, try medium instead.
Riders who switch terrain regularly keep two or three documented setups taped inside a tank bag or under the seat, so they can reset the bike in minutes at the trailhead.
Off-Road Suspension Troubleshooting: Symptoms and Fixes
Off-road suspension troubleshooting starts with matching the symptom to the circuit. Bottoming out on big hits points to spring rate or high-speed compression; bouncing after landings points to rebound; harshness over small bumps usually means too much low-speed compression or fork stiction.
If the bike feels vague and wallowy in corners, the rear may be sitting too low, usually a sag or spring rate issue, not a clicker problem.
A front end that deflects sideways off rocks is a classic sign of excessive high-speed compression plus a spring rate too firm for your weight.
| Symptom | Likely Cause | Fix |
|---|---|---|
| Bottoming out | Spring too soft, high-speed compression low | Firmer spring, add compression |
| Bouncing after landings | Rebound too quick | Add rebound damping |
| Harsh on small bumps | Too much low-speed compression | Reduce compression |
| Wallowing in corners | Rear sitting low | Reset sag, check spring rate |
| Deflecting off rocks | High-speed compression too firm | Back off compression |
Upgrade Priorities: Springs, Valving and Shocks
Springs come first, valving second, replacement shocks third. A correctly sprung bike on standard damping will almost always outperform a badly sprung bike on premium hardware.
Spring rate is determined by your weight in riding gear plus luggage; get that wrong and no clicker tuning will fix the balance. For [CFMOTO 450MT owners, we stock a CFMOTO 450MT Fork Spring Upgrade Set K-Tech](https://sssmotorcycles.com/products/cfmoto-450mt-fork-spring-upgrade-set-k-tech) at $289.00, in rates from 5.7N to 6.6N for different rider and load combinations.

Once springs are right, valving unlocks the next level. The CFMOTO 450MT Fork Valve Piston Upgrade Kit K-Tech at $419.00 replaces the factory compression and rebound valve assemblies for a wider adjustment range and better small-bump compliance.

For a complete front-end transformation, the CFMOTO 450MT Teknic Fork Valve Kit at $749.00 addresses the stock KYB 41mm split-function forks directly, our most comprehensive option for that platform, though it should only be installed by a professional suspension tuner.

On the rear, the CFMOTO 450MT Shock Piston Revalve Kit at $241.00 tightens tolerances beyond OEM for more stable damping. Pair it with a CFMOTO 450MT Shock Spring Upgrade at $249.00 to match the rear to your load.
For a bolt-on rear solution, the CFMOTO 450MT YSS MZ456 Rear Shock at $920.00 is a gas-charged monotube with adjustable rebound and threaded preload. The CFMOTO 450MT MZ456 Rear Shock with Hydraulic Preload Adjuster at $1,240.00 adds a knob-operated preload adjuster, useful if you regularly switch between solo and fully loaded setups.
Suzuki DR-Z4S riders have two paths: the SUZUKI DRZ4S SSS Suspension Upgrade Kit at $595.00 supplies weight-matched fork and shock springs, while the Suzuki DR-Z4S SSS Suspension Package Revalve and Spring Upgrade at $990.00 plus return freight includes complete fork and shock revalving, spring selection, and parts and labour.
Honda CRF300 owners wanting a cartridge upgrade can consider the CRF300 YSS Z1 Fork Cartridge Kit at $1,190.00, a 20mm open cartridge system with preload, rebound and compression adjustment.
Frequently Asked Questions
What is the best suspension setup for off-road riding?
There is no single best setting, because the right setup depends on your weight, load and terrain. Start with correct sag: aim for roughly 30-35 per cent of total travel with you standing on the bike in riding gear. Set rebound so the bike settles in one or two bounces after you push down on the seat, then tune compression until the fork stops diving under brakes and stops bottoming on square-edge hits. Adjust one clicker at a time and retest on the same stretch of track.
How should I set motorcycle suspension sag for off-road riding?
Measure total travel first, then lift the rear until the suspension tops out and measure again. Push down and let the bike settle to get static sag, then sit or stand in full riding gear to get rider sag. For off-road use, rider sag around 30-35 per cent of travel is a practical starting point. If you cannot reach that range with preload alone, the spring rate is wrong for your weight and load, and a spring change is the correct fix.
How do I adjust rebound damping for rough terrain?
Rebound controls how fast the suspension extends after a bump. Too fast and the bike kicks back and feels skittish over rocks and roots; too slow and the suspension packs down over repeated hits. Push down hard on the seat or fork and watch how it returns. The bike should come back up smoothly and settle within one or two bounces. From there, make single-click changes and retest on the same rough section.
Should off-road suspension be softer or stiffer?
Neither extreme works. Too soft and you lose ground clearance, bottom out on jumps and lose tyre contact when the fork dives. Too stiff and the wheels skip across corrugations instead of absorbing them, which reduces traction. The goal is enough spring support for your weight and luggage, with damping that absorbs the bumps without wallowing. Load matters too: a bike set up for solo riding will sit too low once you add panniers and camping gear.
How can I tell if my motorcycle suspension is too soft?
Common signs include the fork diving heavily under brakes, the rear squatting under acceleration, frequent bottoming out on square-edge hits, and the bike feeling vague or wallowing through corners. You may also find rider sag is well above the recommended range and cannot be corrected with preload. If the springs are already at maximum preload and sag is still excessive, a heavier spring rate is the fix rather than more damping.
Getting suspension right is the difference between fighting your bike and riding with it. If you would rather skip the trial and error, SSS Motorcycles offers weight-matched spring kits, professional revalve services and expert setup advice built around your riding conditions. Explore our suspension range or send us your details and we'll help you build the right setup the first time.